
In recent years, we've observed a significant trend: a growing number of progressive companies endeavoring to launch their own MVNOs (Mobile Virtual Network Operators). However, many of these companies have encountered cumbersome negotiations and integration processes lasting at least 12 to 15 months with network operators and various legacy third-party services. Moreover, they've had to commit substantial upfront investments, amounting to millions of US dollars, and invest significant time navigating the complex network of software components essential for running their MVNOs.
This is why we developed Gigs Connect—an intuitive solution enabling our customers to establish their wireless services in just a few clicks. In this article, we will delve into the challenges we encountered while developing Connect. We'll explore topics such as multi-tenancy, building backend functionality within the frontend framework, our strategy for rapidly delivering new features without compromising system stability, and our recent transition to Server-Side Rendering for enhanced performance and scalability.
Why we created Connect
Before we look into how we built Connect, it’s important to understand why we built it.
At its core, Gigs is an API company. We looked at something complicated – offering phone plans across providers and countries – and built an easy-to-use wrapper around it. And while our API offers great flexibility and enables our customers to build great products, not every customer has the time or resources available to build an entire frontend by themselves.
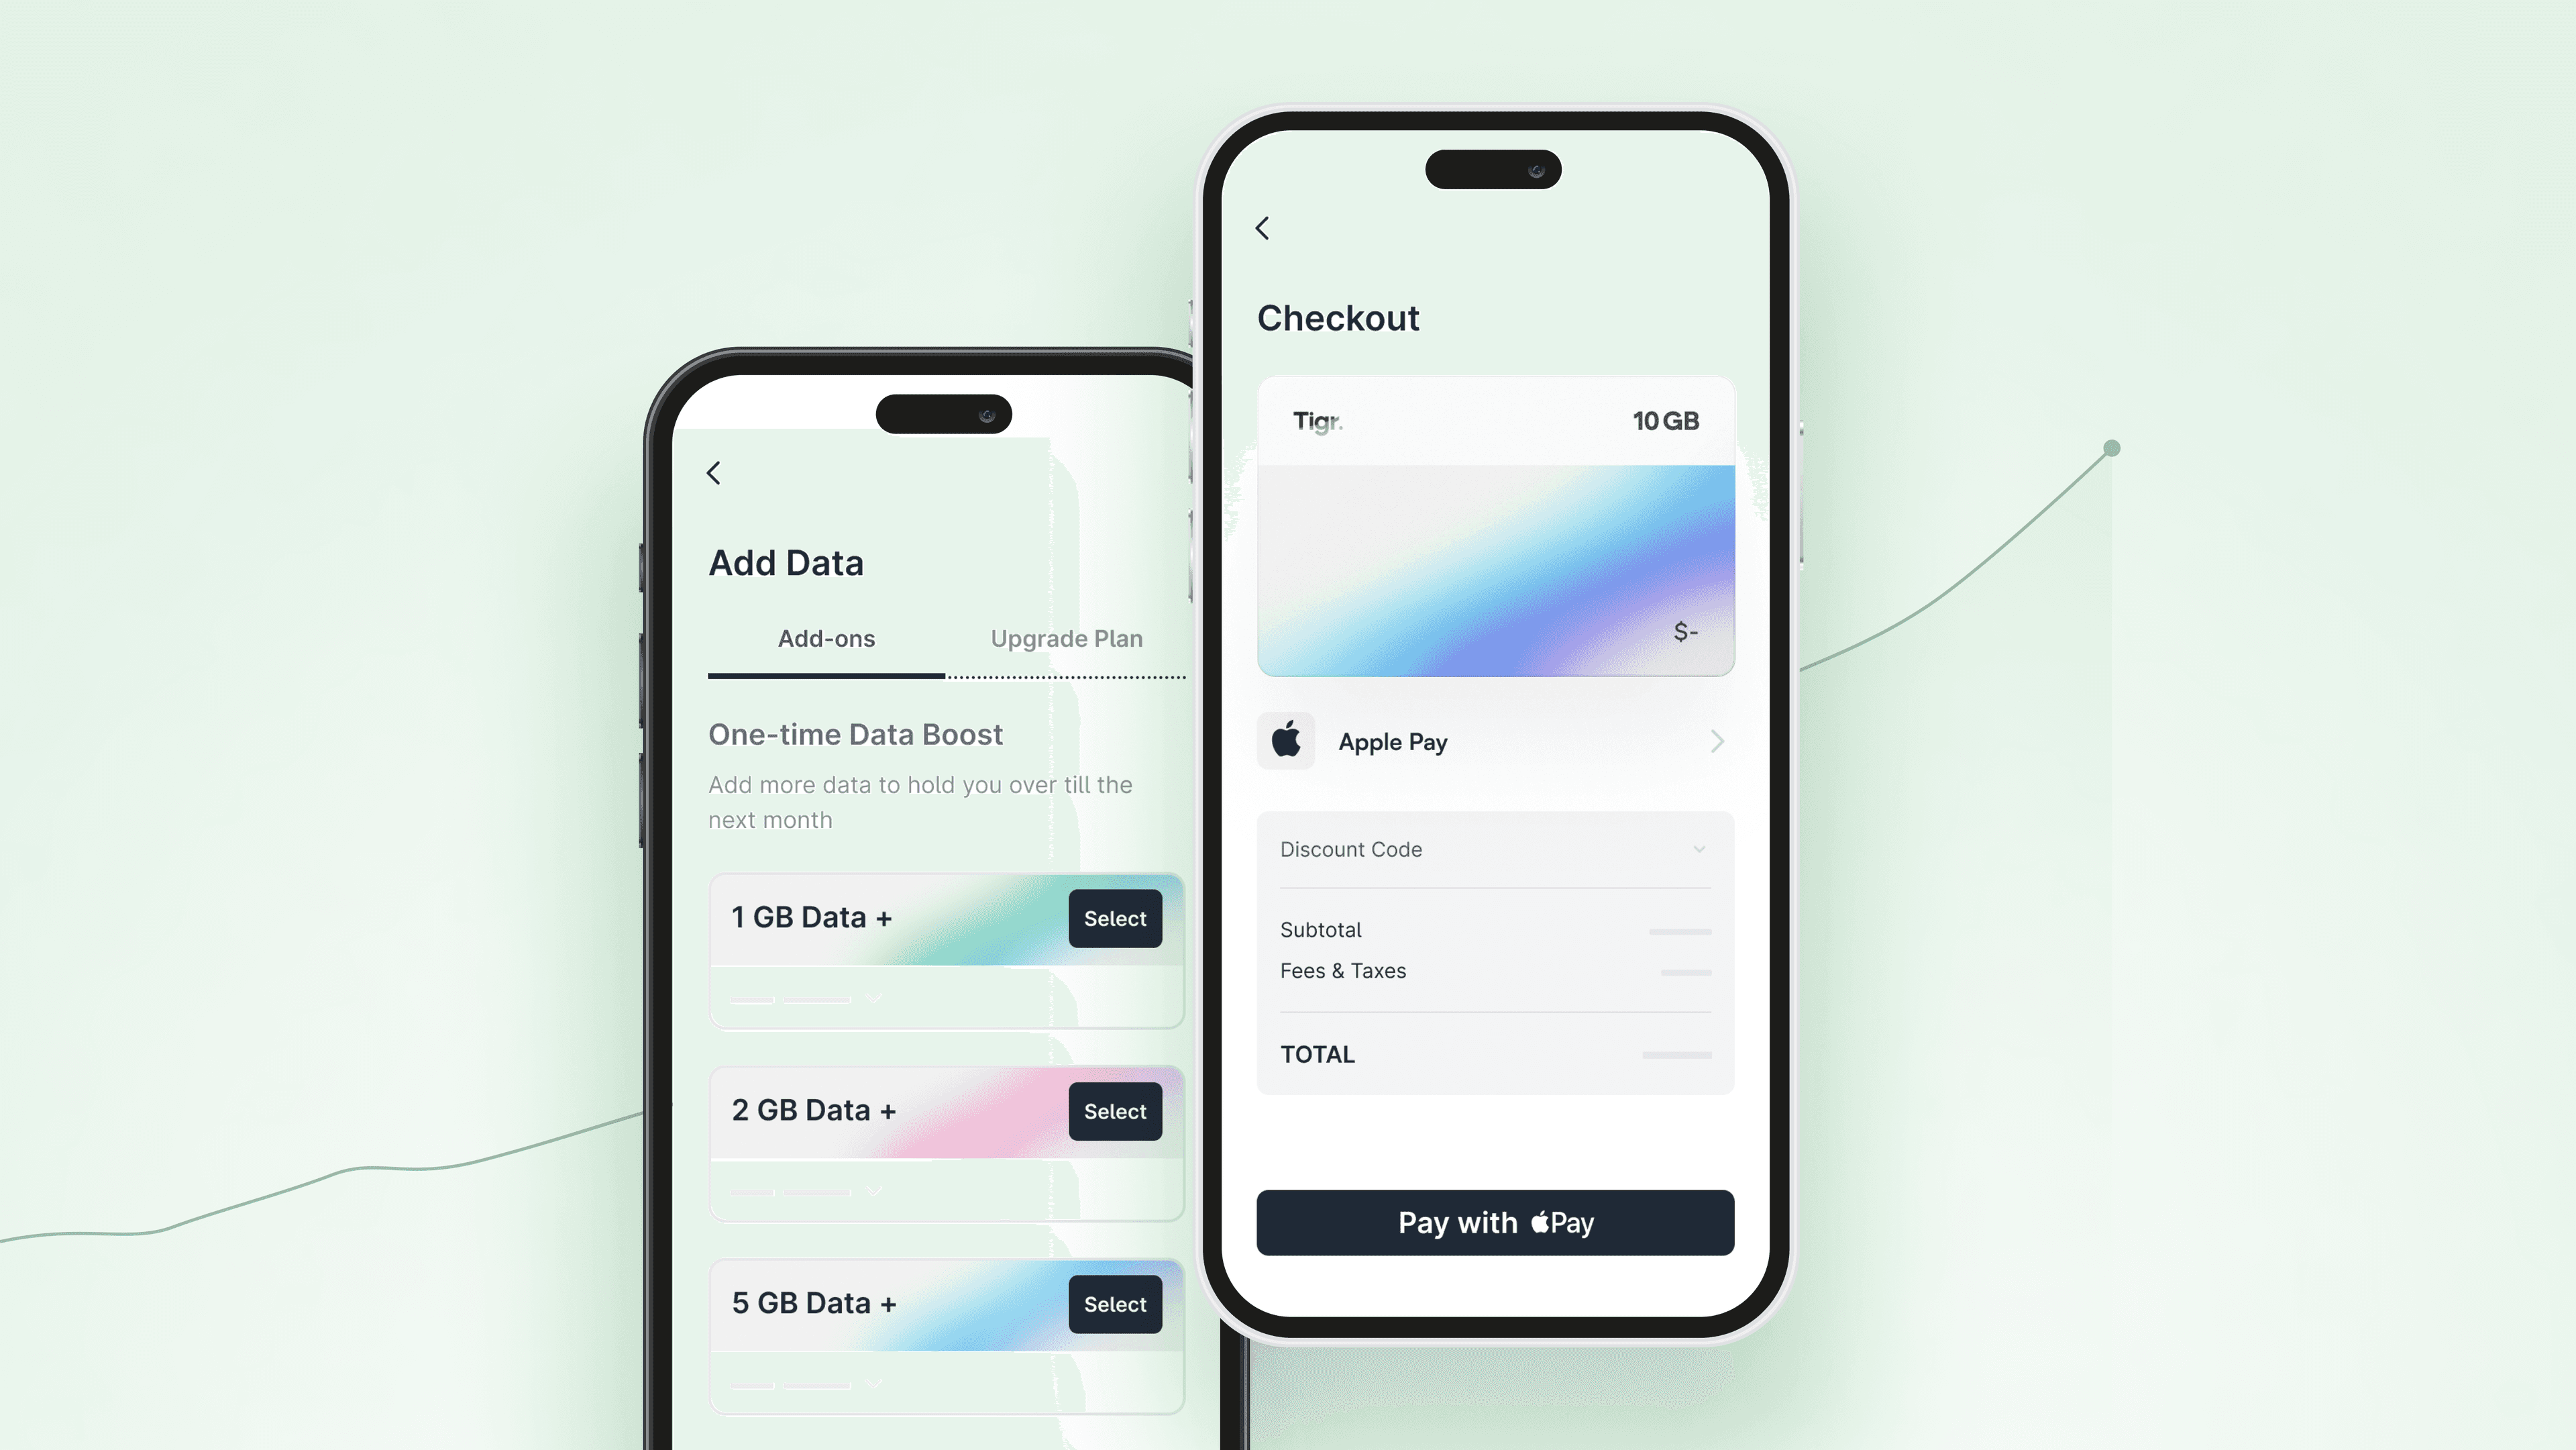
This is where Connect comes in: Connect is a modular no-code web application that includes an opinionated implementation of crucial features needed to sell phone plans. Connect offers a plug-and-play hosted checkout, SIM and eSIM activation, subscription and user data management, and more. It’s by far the fastest way on the market to start an MVNO and truly allows us to call ourselves a Telecom-as-a-Service.
Connect is the Gigs product that most end-users (the customers of our customers) interact with. Which means Connect has to be stable and have a high uptime (99.993% at the time of writing this) while still allowing us to iterate and try out new features fast.
Technical foundations
In order to fulfill all of these requirements, we need a solid foundation. When we initially created Connect, we knew that we wanted to create joyful UI interactions that would require client-side JavaScript. But we also knew that we’d eventually scale up, so we needed to have sturdy conventions for topics like routing, APIs and file structure in place. We found all of our needs covered in Next.js.
We’ve mentioned above that Connect is a modular application. It currently has three modules: Checkout (for buying new subscriptions), Portal (for managing your subscriptions, changing your personal data, etc.) and General (which contains legal texts and installation guides). This modularization is still rather broad, but we’re working on splitting the existing modules down further. For example, we’d like to split payments out so that customers are able to integrate their own payment providers into Connect.
 Historically, Connect was not modular at all, but a one-size-fits-all solution. Customers had to use all of its features or none of them. However, we found that this is not how many of our customers operate. They usually already have some part of the flow implemented on their side. For example, they may already have a dashboard with user management in place, so it does not make sense to use the Connect Portal for user management as well.
To address this need, we came up with Connect Sessions. Connect Sessions allow you to create a session using the Gigs API that will open Connect at a specific point in the user journey (i.e. with user data already entered, the user logged in and a specific phone plan selected). A Connect Session contains a URL for pointing to Connect and the application knows in which state to open based on the URL.
 A nice side effect of this is that Connect itself uses Connect Sessions to move between modules. This is in line with our philosophy at Gigs: We should always be the first users of our API. This ensures our API is constantly tested in a real-world scenario and we know our own product well.
tRPC and the “Backend for Frontend”
The Gigs API offers a lot of features, but some features that require a backend are not in the scope of the main API. Connect used to make all requests from the browser directly to the Gigs API, using a user-scoped token, but this doesn’t work for all features, and that’s where our Backend for Frontend comes into play. We built that using Next.js API routes and rely heavily on tRCP and zod to create typesafe APIs for ourselves. This may sound a little abstract, so let’s look at a concrete example: Vouchers.
Validating voucher codes in the client
Gigs allows customers to configure vouchers for their projects. Vouchers work in the way you probably expect them to: Users apply the voucher codes while checking out and receive a discounted price if the code is valid. However, Connect also adds the possibility to define project-wide voucher codes so a discount is applied to all purchased subscriptions automatically (i.e. when our customers want to run a summer sale). This is not a feature of the core API yet, it exists in Connect only.
Sidebar: Why isn’t this a feature of the core API? As mentioned before, we have a lot of customers with different use cases. Adding
every possible feature to the API will make the API a more complex (and ultimately worse) product. Some features will only be available in Connect, until we learn that other API customers would also benefit from it.
We implemented this using query parameters: Connect checks if a valid voucher code is supplied via the URL. If so, we display a banner to make users aware of the discounts and automatically apply the code for users during checkout.
Vouchers are objects that have one or more codes attached to them. The usual flow is to pass one of these codes when creating an order and the API response will tell you if this code was valid or not.The core API offers a possibility to get all vouchers including their codes, so we can then do the lookup manually in Connect. But fetching all voucher codes on the client side would mean exposing all voucher codes of a project to everyone who has a basic understanding of their browser’s developer tools.
So we built our own API (using the Next.js API routes) that accepts a voucher code and returns if it’s valid or not. Here’s what the simplified code looks like:
 We’re using
 zod to validate the input of our tRPC procedure. This allows use to create a fully type-safe API that we can use in our client-side code:
 Because of the type-safety, we can easily see which arguments we can pass to the query and what it might return:
 You might wonder why we didn’t just add lookups by voucher codes to the API. We might do that one day, once we see the need from our API customers for this feature. We saw this need from Connect customers though, so we decided to move forward and just extend the Core API in Connect. This allowed the API team to focus on more pressing tasks while we could deliver this feature as well as keep complexity out of the core API.
Multitenancy
We have numerous Connect customers but only serve one single Connect service. Of course, we have multiple instances of this service running at the same time so we can scale Connect easily depending on traffic, but we only ever have one single production service for all customers. Our customers have very different business models (i.e. we serve smartwatch and smartphone manufacturers as well as eCommerce shops, fintechs, and many more) that all come with different requirements for Connect, so serving only one Connect image means it has to be customizable.
There are two things we need to solve in order to offer this customizability: We need to be able to store and adapt the configuration itself and we need to know which configuration should be used when a user opens Connect.
Finding the right configuration
To figure out which project configuration should be loaded when Connect starts we use the domain Connect is hosted on: For every Connect project at Gigs, there is either a custom .gigs.com subdomain or a custom domain chosen by our customers. This subdomain is created automatically during the project creation process and equals the project ID. In Connect, we extract this project ID from the URL host and load the project configuration based on it.
 This code sample has been simplified for readability, the actual implementation is slightly more complex, for two reasons.
First, we have some overrides in place for specific hostnames and environments. For example, we have a project that we want to automatically load when we’re running Connect on localhost. Or we have another dedicated project that we’re using for our e2e tests, which we select based on environment variables.
Second, some of our customers do not want to have the .gigs.com host in their Connect domain. We support custom domains for Connect, but in Connect we still need to know which project config we should run based on those custom domains. We keep it simple for now and store a mapping of custom domains and associated project IDs in a JSON file so we can do the lookup.
Configuring Connect
How Connect looks and behaves is defined in the fetched configuration. This can be simple things such as brand colors and hero images or the way phone plans are ordered in the Portal, or it could alter the way Connect behaves in general. Not all customers need all features, so the configuration also stores which features are enabled or disabled. We even have an option that disables logins via the Connect web UI, for customers that only want to use Connect through Connect Sessions.
We store this configuration in a simple JSON structure in a database. But, as with vouchers before, this is not part of the Gigs core API so it’s in the domain of the team that builds Connect to take care of this configuration.
The actual usage of the configuration is relatively straightforward: We check if a value is set in the configuration and alter the behavior of Connect accordingly (in this case, deciding whether we want to show the usage graph or not).
 Moving fast without breaking things
Serving one application to so many diverse customers conflicts with one of our engineering principles: We want to move fast and not have stale feature branches. Once a feature is finished, we want it in the main codebase as soon as possible. This is conflicting because sometimes we need to test new features in a realistic environment for some time or we just have one specific customer that we want to test this feature with.
We’re solving this using feature flags. Feature flags are small pieces of code that function as a guard: If a certain condition is met, they enable a piece of code. This condition could be the user being an internal Gigs user or the current project being a certain customer project. It could also just be some value being true or false.
How we use Feature Flags
We manage feature flags in Posthog. Having an external tool to manage them makes it easier to share information across teams. Everyone in the organization can log in to Posthog and see which flags are in which state. This also means that everyone can disable a feature if it causes problems, not just people that know the code, so we’re much quicker to react.
For example, we have a “Service Degradation” banner in Connect that we display in case a provider has issues that may cause delays in plan activations. The visibility of this banner is managed using a feature flag and requires no engineering resources.
In Connect, we have a hook which uses a context. The hook is rather simple:
 The context is initialized with a default set of Feature Flags from
 defaultFeatureFlags so even if we can’t reach Posthog for some reason, we have a sane default set of values. Those defaults are a set of boolean values and defined very conservatively: We’d rather have someone not see a feature they’d usually be able to see than have someone see a (potentially experimental) feature they otherwise would not have seen.
This hook can then be used to conditionally run code in our implementation:
 From
From react-query to Server Components
Historically, Connect handled all networking on the client side. This meant we relied heavily on react-query to provide a good user experience when fetching and mutating data. Just the ease of giving feedback to the user when fetching data is a huge selling point for the library for us. But the real value comes from how react-query allows us to handle mutations.
We often use “layered” mutations, meaning we will call a mutation inside a mutation to have a separation of concerns. For example, let’s look at how we handle editing a user name. This handleSubmit function is called when the user form is submitted, and is a mutation itself:
 We try to update the user with the form data, and depending on the outcome we either move forward in the flow or we handle potential errors. Pretty straightforward. However, you may have noticed that inside our
 mutationFn we call another mutation: updateUser. Let’s take a look into that:
 The function returns
 useDataMutation which is a wrapper around react-query’s useMutation hook. Inside this mutation, we do the actual network request to update the user. We already invoke an onSuccess handler here: If the mutation was successful, we update the query for users so all parts of the application that fetch user information are already up to date and we don’t have to refetch for the updated user information.
Because we’re doing this in a separate mutation, the component implementing the updateUser hook does not have to take care of keeping application state while our more generic useUpdateUser function does not need to know anything about the business logic.
Moving to Server-Side Rendering
When Connect was created, the only way to handle data mutations in Next.js was on the client. This changed with the announcement of Next.js 13 and the app router. We knew that eventually, we’d want to move towards server-side rendering and request handling. We kept an eye on the state of the app router throughout the various beta releases and when the app router was declared stable, we decided to start the migration.
Connect had about 70 distinct pages at this point. Moving all of them to the server side would have resulted in a rewrite of large parts of the application, which would have slowed down building new features significantly. This was not an option for us.
Luckily, Vercel had companies like us in mind and provided an easy upgrade path:
Move the existing default exported page into a client component (declare
'use client'at the very top)Create an accommodating page in the app router and import the old page (that is now just a client component) in it.
 Following this path enabled us to move the page to the new app router without having to change anything about its implementation. We can continue using
 react-query and the only thing we initially had to do was move files around. While this was still not done in an afternoon and came with its own set of challenges, it was a much better option than a rewrite.
This left us in a limbo state, where we’re technically using the app router, but not quite. This allows us to refactor single pages, one at a time, whenever we see fit, without having to stop feature development. New features can be implemented in the app router the proper way, so there is no backlog of new features that still have to be migrated. This plays nicely with our plans to further modularize Connect, where we’ll have to touch huge parts of the codebase .
Conclusion
We hope this article gave you an overview of the technical challenges we faced when building Connect and making it available to customers, as well as the solutions we found to overcome these challenges. This article only touches the surface on many topics and leaves out other topics completely.
There are things we cannot write about yet because they’re still in progress: We’re working on the further modularization of Connect, we want to enhance the way Connect Sessions can be used, and we’re in the process of providing JavaScript and React Native Embeds of certain Connect features. So keep an eye out for more articles about these topics in the future.
If you’re an engineer and these sound like problems you’d be interested in solving, we’re hiring! Become part of the world’s first Telecom-as-a-Service platform and help us shape the future of telecom. See our open positions at gigs.com/careers. We’d love to hear from you.


